
Health
It Is Quicker, Easier, And More Convenient Than Ever To Heal A Tattoo With Saniderm
Tattoo before and aftercare is more critical than most people understand. In addition to choosing the perfect design and finding a great artist, the healing process and your preparation for getting a tattoo affect the end product. This makes general skincare and tattoo aftercare essential to getting a perfect tattoo.
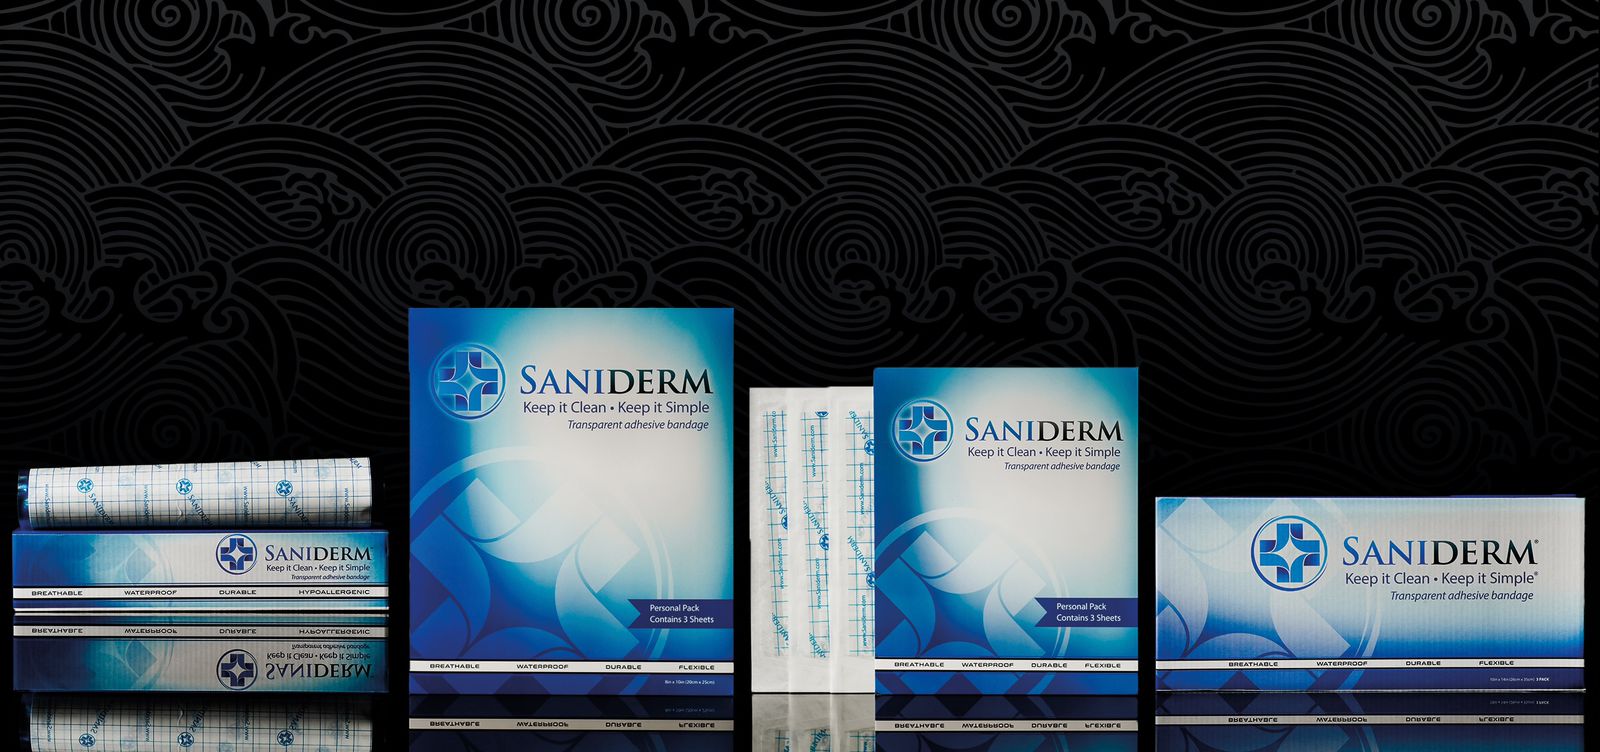
Saniderm offers multiple ways for tattoo enthusiasts to decrease their healing time and display the brightest colors. They provide supplements for skin preparation and bandages, balm, and lotions for healing. Consumers and shop owners can purchase Saniderm products off their website and several major online retailers, such as Amazon and Walmart Plus.
Preparing for Your Tattoo
Saniderm recommends a healthy diet, plenty of hydration, and their Omega-7 Sea Buckthorn Oil Hair and Nail Supplement at least two weeks before the ink is laid. The purpose of preparation is to make sure your skin is in tip-top condition when you get the tattoo, so healing is easier.
In the shop, a tattoo artist lays ink under the first few layers of your skin. Laying ink in dry skin is more difficult than moisturized skin; dry skin also tends to sustain more damage. The more damaged your skin is getting from a tattoo, the longer it will take to heal. Not only that, but damaged skin will lose ink, causing your tattoo to fade or need to be touched up after healing.
Preparing your skin for a tattoo will minimize healing time and ensure that you end up with the brightest and best ink possible. The supplements give your body additional nutrients to help it stay hydrated and boost collagen levels. These factors make your skin stronger, more elastic, and less likely to sustain damage from getting a tattoo. The Omega-7 supplements are also great for hair, nails, mucous membranes, dry eyes, and your overall health!
Tattoo Aftercare
If you have had ink laid, you are probably familiar with the greasy ointments and having to wash the area and reapply multiple times a day for about two weeks. Saniderm offers a great alternative to this with the Saniderm bandage. The Saniderm bandage is a medical-grade, breathable bandage that you place over your tattoo and cuts healing time in half.
The bandage allows you to set it and forget it. Wash the area, apply the bandage, and go about your day. Your tattoo will be protected from infection, sticking to your clothes, hair, dirt, dust, pet hair, and even curious kids that just have to touch it.
Another great point about the bandage is that it keeps your tattoo from weeping on your clothes and losing ink. The weeping fluid is called plasma; under the breathable bandage, the plasma stays wet and aids your body with the healing process because it is full of nutrients. However, in the open air, the plasma can form a scab, which can fade your tattoo and contribute to scarring. The bandage also works for minor cuts and burns.
If you are unable to use a medical-grade bandage due to allergies, Saniderm also offers a product called Sanibalm. When using the balm, you will still need to wash and reapply several times a day. What is different about Sanibalm, though, is the special ingredients. They use beeswax to help stop the weeping, lavender for irritation and redness, silver as an antimicrobial, and sea buckthorn for stimulating skin regeneration. This unique mixture speeds up the healing process and keeps your tattoo from scabbing and cracking.
Saniderm Cares
Saniderm was founded over a decade ago with the intention of bringing medical-grade healing to the tattoo industry. The company made it their mission to shorten the healing process, improve results, and make getting a tattoo as easy as possible. These ideas were pulled forward into the business by offering easy ways to get in touch, set up payments, and even auto-shipping plans. Saniderm is a customer-focused company established to help people heal. Check out their website today!
Byline: Margot Everly
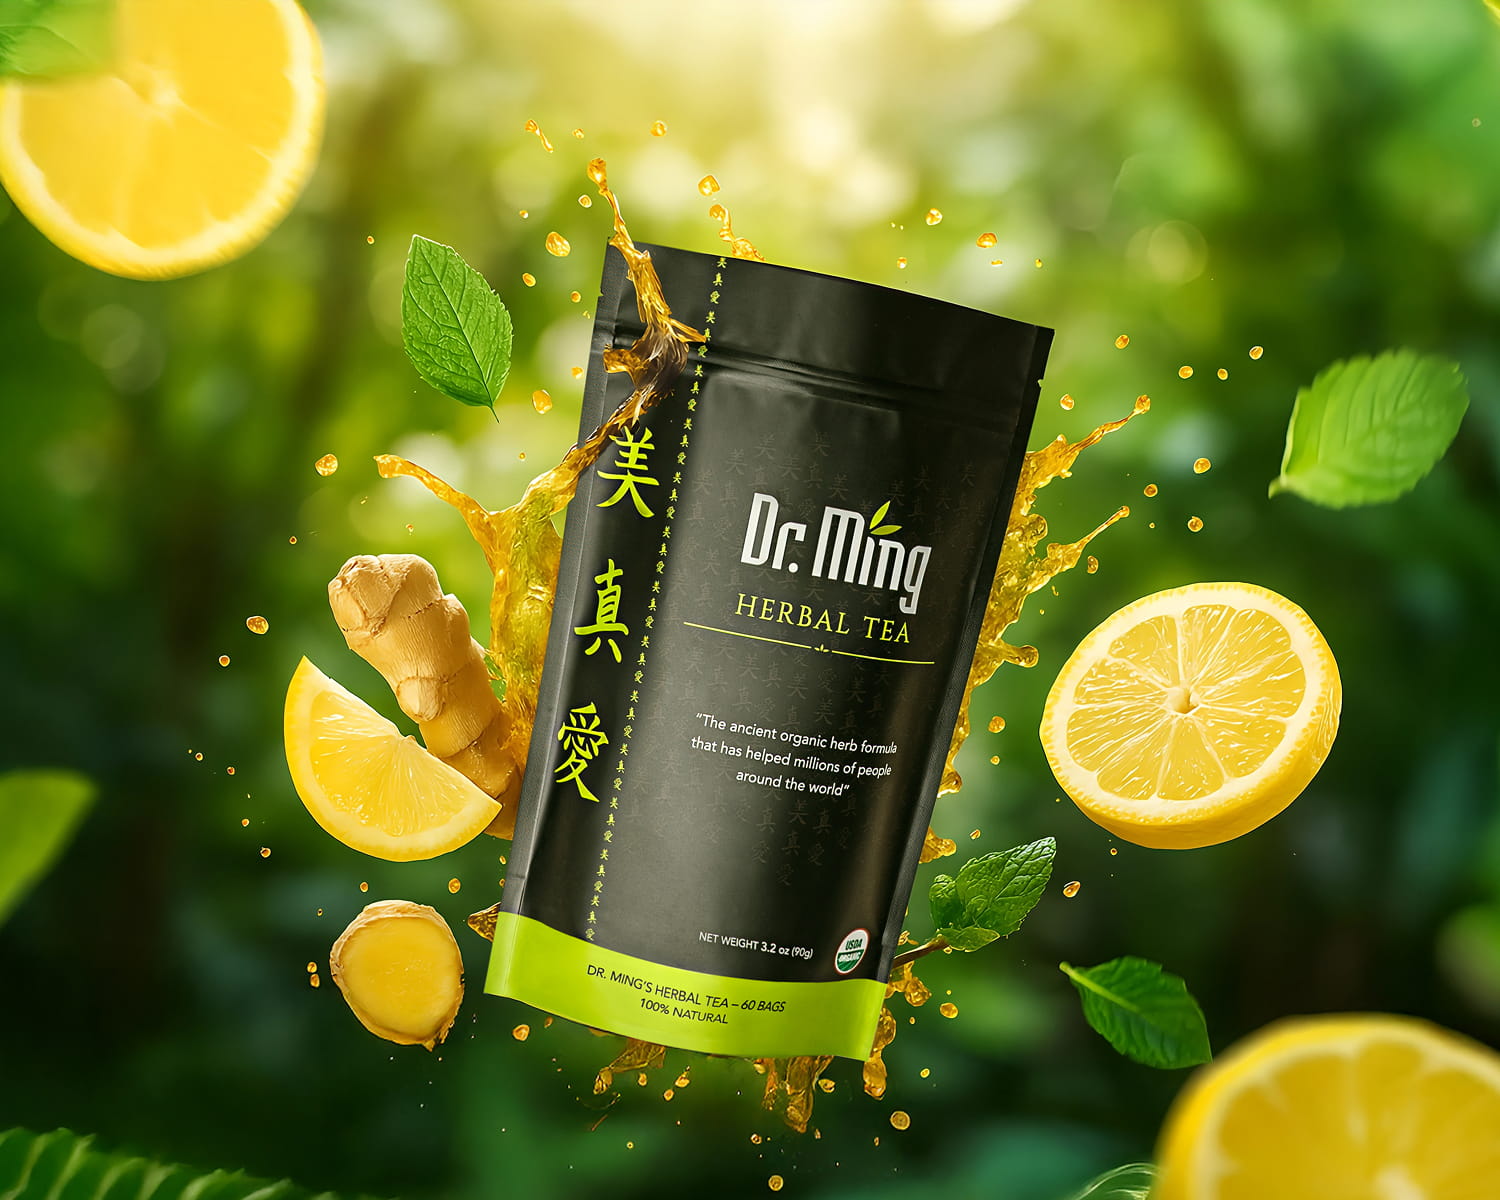
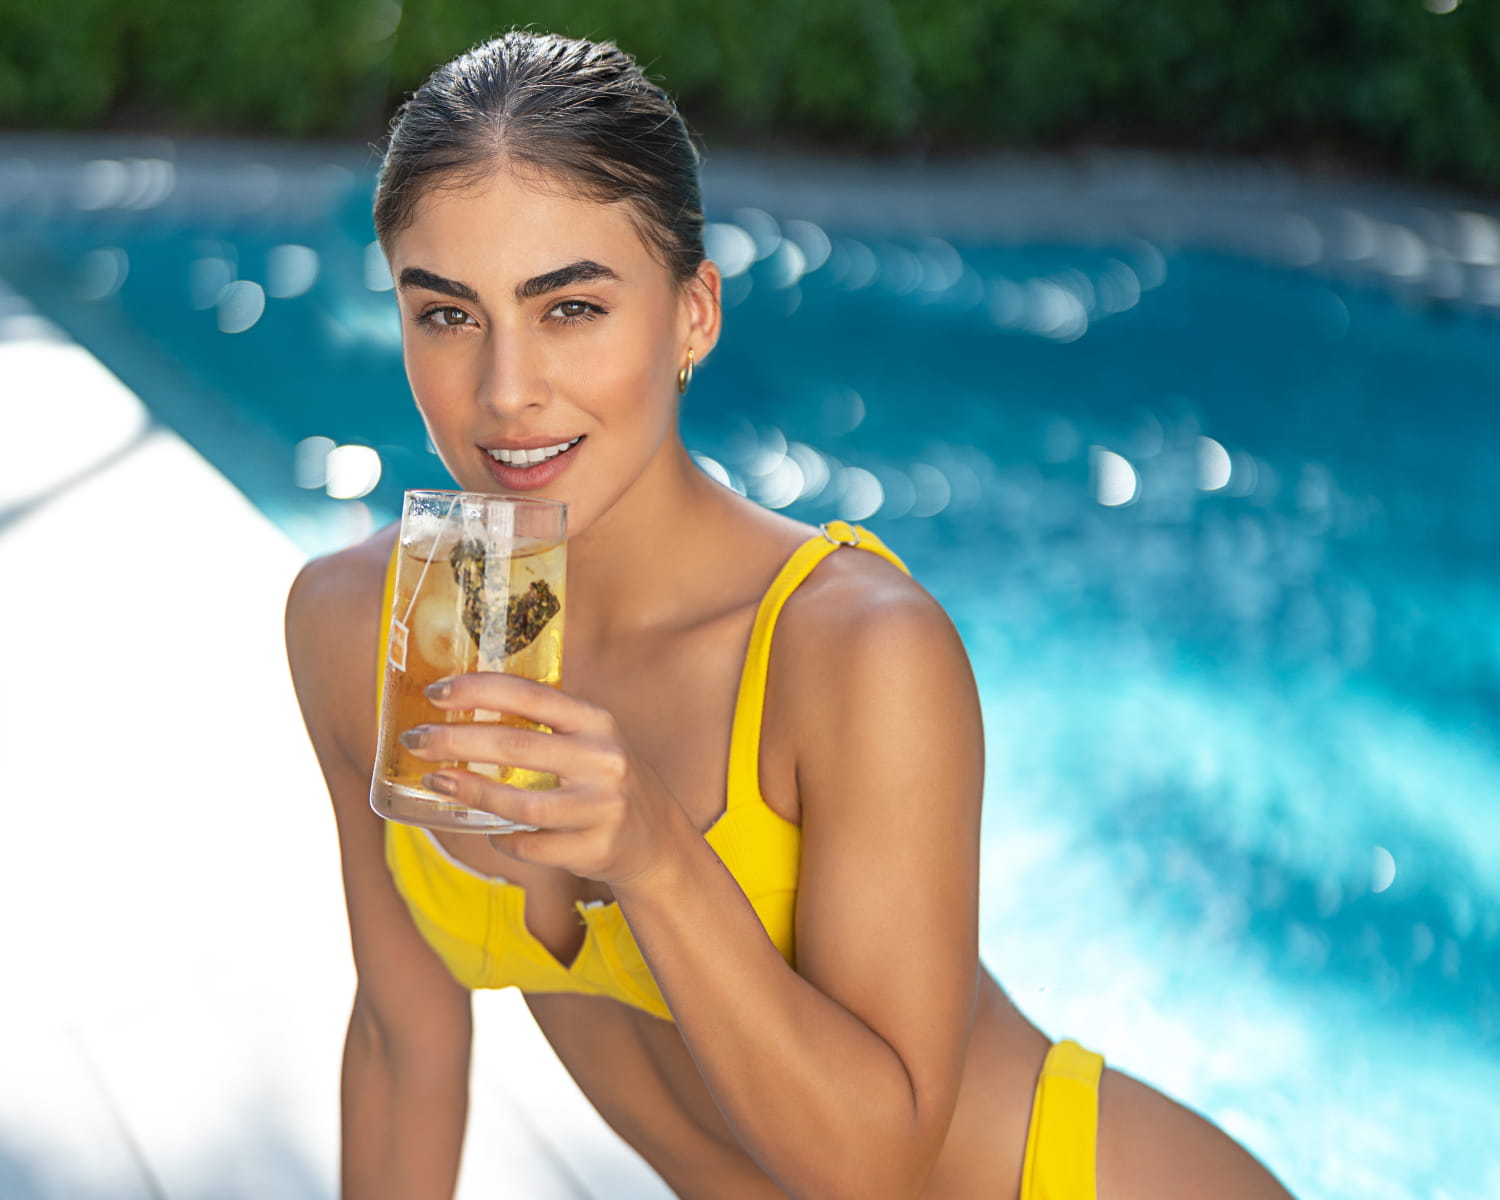
Herbal teas have long been known for their soothing qualities, but Dr. Ming’s range of products takes it a step further, providing a holistic approach to wellness through clinically tested, herbal-based solutions. With a focus on metabolism support, digestion, detoxification, and overall well-being, Dr. Ming’s teas aim to help individuals feel lighter, energized, and more balanced, all without the use of artificial additives.

The Three-Step System for Wellness
Dr. Ming’s flagship offering is its three-step tea bundle, a combination of Dr. Ming Green Tea, Pineapple Tea, and Sleep Tea, designed to work synergistically throughout the day to support various aspects of wellness. Each product targets different health concerns, starting with metabolism boosting in the morning and winding down to detoxification and restful sleep at night.
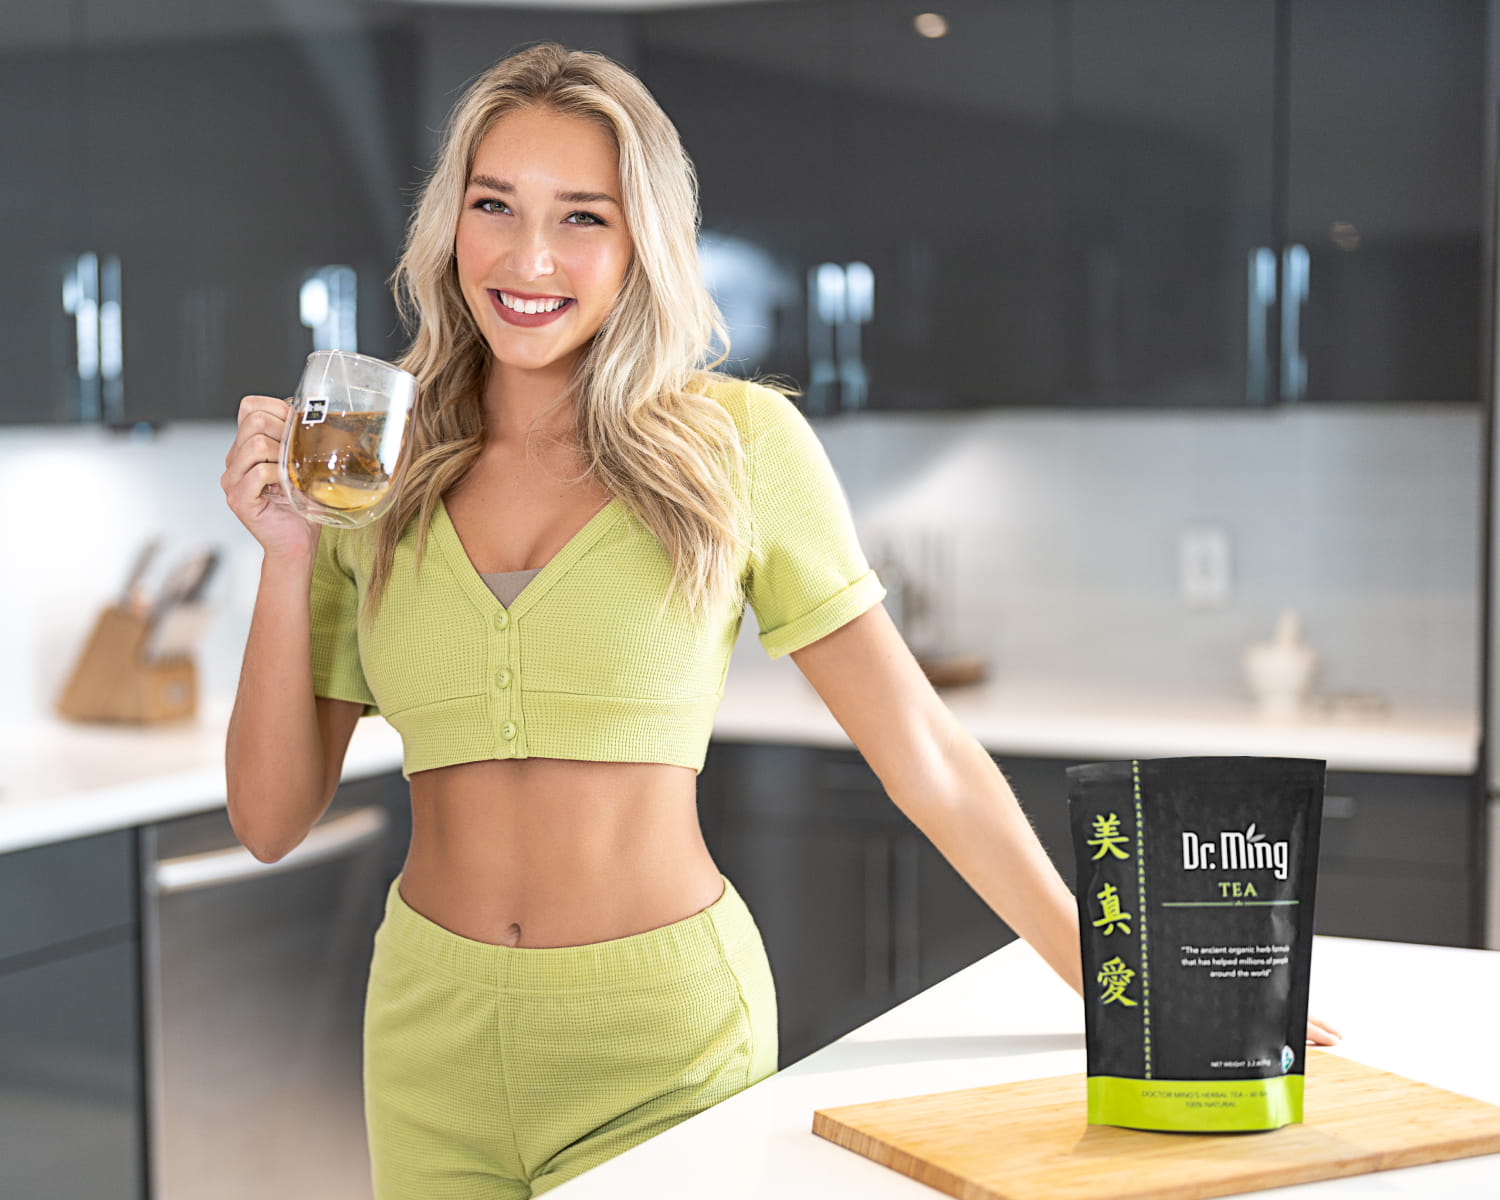
Dr. Ming Green Tea is a key part of the system. It’s designed to support digestion, fat oxidation, and energy levels by helping to accelerate metabolism naturally. “Green tea has long been recognized for its role in supporting metabolic function,” says Evelyn Chang, CEO of Dr. Ming. “Our blend enhances that effect, allowing users to feel more energized throughout the day without the need for artificial stimulants.”
Following the morning boost, Dr. Ming Pineapple Tea steps in during the afternoon. Its combination of natural ingredients works to reduce bloating and support the body’s detoxification processes. By promoting digestive health, this tea aims to make users feel lighter and more comfortable, easing the discomfort of bloating that often comes with modern diets. The final part of the system is the Sleep Tea, which helps to reduce stress, calm the mind, and promote a restful night’s sleep.
Gut Health and Digestion: A Foundation of Wellness
A common issue for many individuals is digestive discomfort, whether it’s bloating, sluggish digestion, or irregularity. Dr. Ming’s Pineapple Tea aims to address these concerns by offering a natural solution to support gut health. The benefits of good digestive health are numerous; it’s not only about comfort but also about the body’s ability to absorb nutrients effectively and maintain energy levels.
Chang explains, “Digestion is at the core of many of our health issues. When your digestive system is out of balance, everything else follows suit. We’ve formulated our Pineapple Tea to support the digestive process and reduce bloating, giving our customers a natural solution that helps them feel lighter, more energized, and ready to take on the day.”
Beyond the digestive benefits, the teas also play a role in the body’s natural detoxification process. Both the Pineapple Tea and the Green Tea include ingredients that help promote the elimination of toxins, contributing to the body’s overall health. This detox support is key in a lifestyle that values holistic well-being.
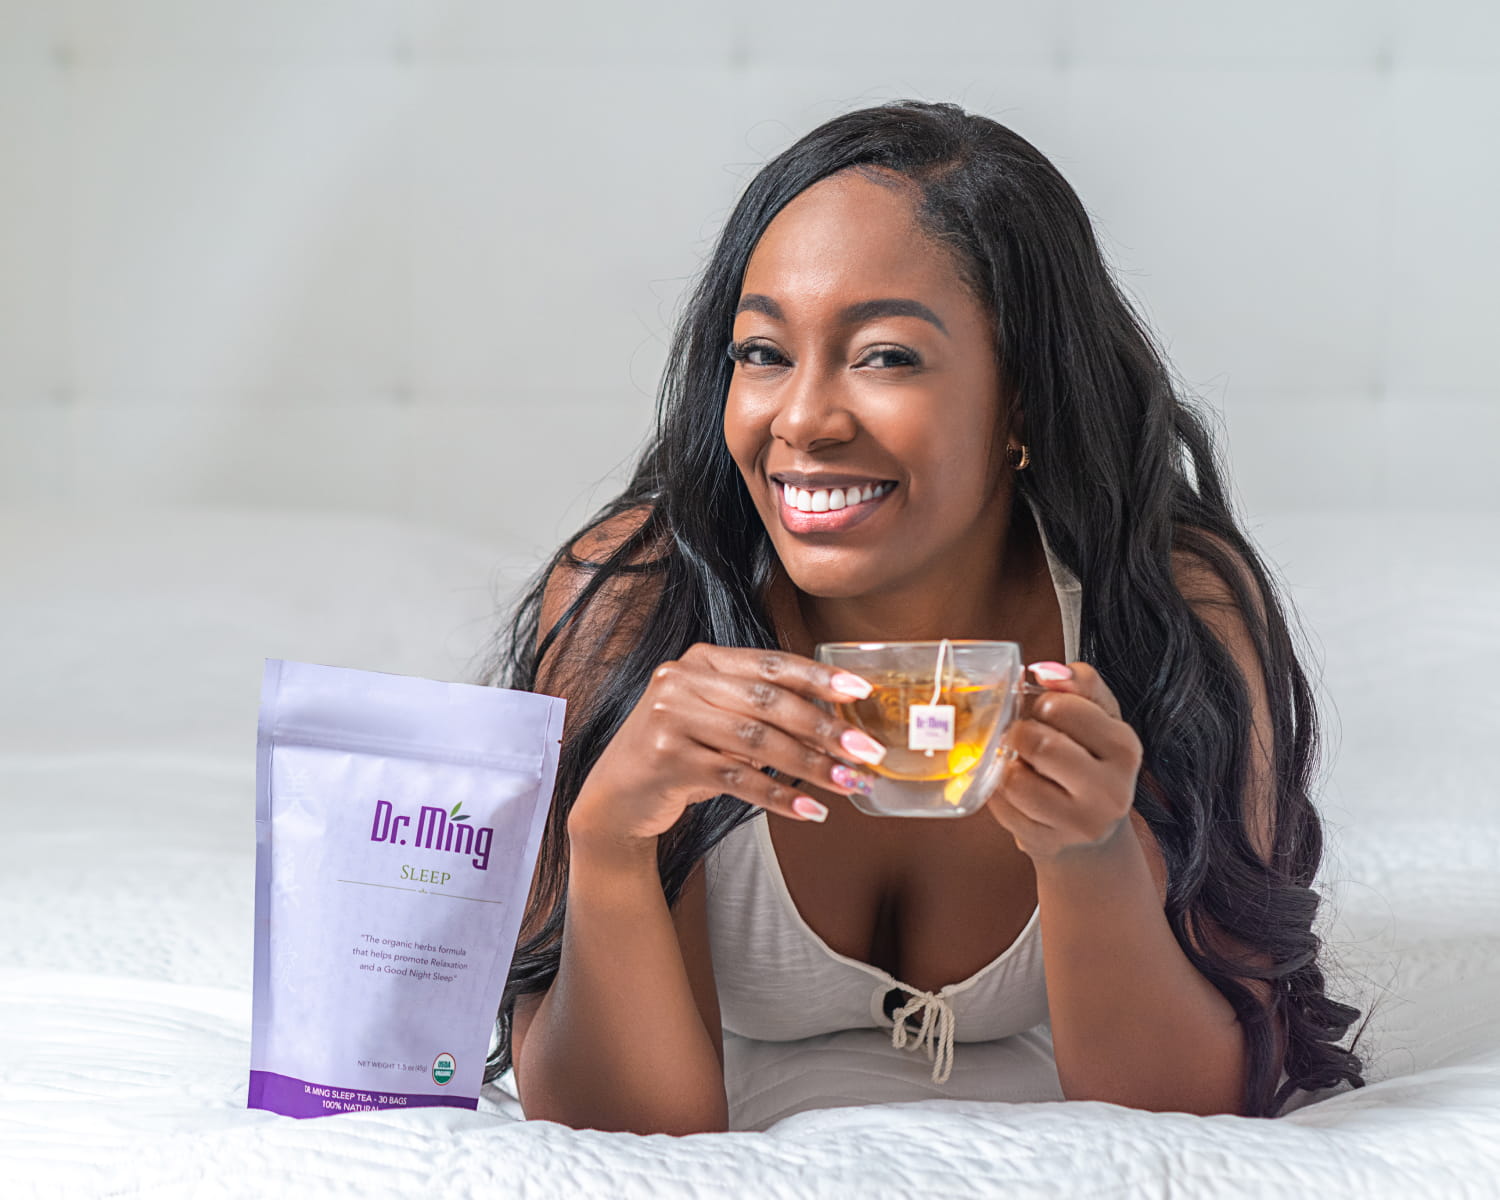
The Sleep Tea: Stress Relief and Better Sleep
Many people struggle with getting quality sleep. Stress, anxiety, and poor sleep hygiene are common culprits, leaving individuals feeling tired and sluggish. Dr. Ming’s Sleep Tea targets this issue with ingredients designed to calm the mind and promote a deep, restorative sleep.
“This tea has been a favorite among our customers who want to unwind and improve their sleep quality,” Chang says. “We focused on creating a formula that helps people relax and destress naturally, without relying on chemicals or sleep aids that may cause dependency.”
The Sleep Tea is a gentle way to reduce anxiety, offering a natural remedy for those who find it hard to quiet their minds at the end of a busy day. By promoting relaxation, it supports the body’s ability to detoxify overnight, allowing users to wake up feeling refreshed and ready to tackle the day ahead.
A Sustainable Approach to Wellness
What sets Dr. Ming’s teas apart from other wellness products on the market is the focus on long-term, sustainable results. Unlike many quick-fix solutions that promise rapid weight loss or extreme detoxification, Dr. Ming’s teas provide a balanced approach to overall wellness.
“The goal of our products is not just to support natural body balance or gentle detox, but to help create a sustainable wellness routine that people can maintain over time,” says Chang. “We believe in helping people feel better in their bodies by offering natural solutions that integrate into daily life, rather than offering a fleeting, short-term solution.”
This strategy aligns with the growing trend of individuals seeking more sustainable, natural products that support a healthy lifestyle without relying on drastic measures. Dr. Ming’s teas are carefully formulated to be gentle, offering benefits over time without the harsh side effects often associated with other weight management and detox products.
Customer Satisfaction and Global Reach
With over a million satisfied customers worldwide, Dr. Ming has established a strong reputation for its effectiveness. Customer reviews frequently highlight the positive impact the teas have had on digestion, energy levels, and overall health. As Dr. Ming expands its reach internationally, it remains committed to delivering high-quality, natural products that align with the progressing wellness needs of its customers.
The company has recently launched a subscription service, allowing customers to receive their favorite teas delivered regularly, further simplifying the process of maintaining a healthy lifestyle. This has resonated particularly well with those who seek convenience in their wellness routines.
In a crowded market of wellness products, Dr. Ming’s holistic approach—blending the best of traditional herbal remedies with modern science—offers a refreshing alternative to those seeking a natural way to feel energized, supported, and balanced.
-
 Tech5 years ago
Effuel Reviews (2021) – Effuel ECO OBD2 Saves Fuel, and Reduce Gas Cost? Effuel Customer Reviews
-
 Tech7 years ago
Bosch Power Tools India Launches ‘Cordless Matlab Bosch’ Campaign to Demonstrate the Power of Cordless
-

 Lifestyle7 years ago
Catholic Cases App brings Church’s Moral Teachings to Androids and iPhones
-

 Lifestyle5 years ago
East Side Hype x Billionaire Boys Club. Hottest New Streetwear Releases in Utah.
-

 Tech7 years ago
Cloud Buyers & Investors to Profit in the Future
-
 Lifestyle6 years ago
The Midas of Cosmetic Dermatology: Dr. Simon Ourian
-
 Health7 years ago
CBDistillery Review: Is it a scam?
-

 Entertainment7 years ago
Avengers Endgame now Available on 123Movies for Download & Streaming for Free